Tuesday, 10 April 2012

Pudsey Doll & Teddy Fair April 2012

Saturday 7th April was Pudsey's Doll and Teddy Fair, it was a bit of an adventure for me as I hadn't done this show before, after a long 2.5 hour drive and a very pleasant night in a comfy Premier Inn including a lovely meal and hot shower the show itself was a very busy day.  


The Hall was pretty massive with a big stage at one end of it, I got a great shot of the entire hall from up on the stage. as you can see there was an impressive layout of tables.

  
Once I got my tables set up I was able to have a wander around and take some photos and talk to other table holders.  It was nice seeing so many familiar faces and being able to coo over some of the wonderful dolls, bears and crafts on display. 


Sammie trying to hide... and failing!
Saw this gorgeous little purple dragon, really wish I had bought him!


I loved these wonderful felt and cloth dolls, they were just amazing. 

The next Pudsey Fair will be on Saturday 6th October 2012, more details of this show are available on their website


Wednesday, 4 April 2012

William - Available

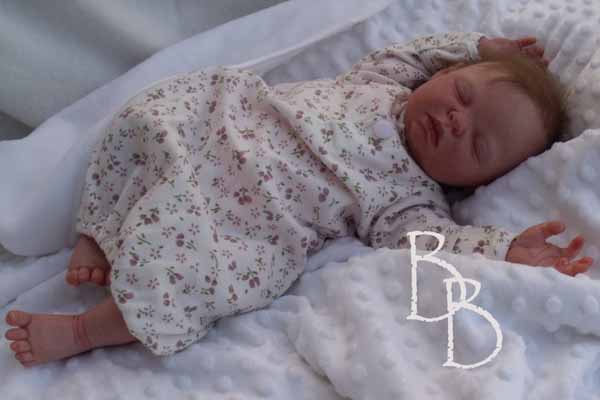
Completed and ready to meet a new family is little William, created from a Laura Tuzio Ross "Walter Sculpt" Little William will be accompanying me to the Pudsey Doll and Teddy Fair at the weekend. 


William measures about 19inches from head to toe and has been painted with many many layers of Genesis Heatset Paints.  William is rooted with two tones of Slumberland mohair.


Saturday, 31 March 2012

Cissie goes Home

Another little sweetie left the art room this week and went off to her new carer.  Cissie, renamed Isabelle was a cute little bundle at 17 inches long and weighing in at just over 3lbs, not too heavy but just about right the preemie Secrist sculpt.


I am liking that Secrist are now offering more varied choices of limbs for their smaller doll kits, but still waiting for them to produce a bent arm and leg set, which would really make the kits more realistic.


Friday, 16 March 2012

Tweezer Love!

I picked up these little beauties during my day out at the Stitch and Craft Show at Olympia. 

How cute are they!  

Tweezers are really useful tools in reborning, specially during rooting for pulling out those multiple hairs and stray eyelashes.  

So why shouldn't they be pretty or fun.  These cost me £5 for two pairs.

I have to admit to constantly losing tweezers so now I just need to find a way to not lose these!

Monday, 27 February 2012

Discover Dolls Show - Brentwood February 2012

As usual the Discover Dolls Show was busy from the minute the doors opened, I don't know what it is about doll shows but the queue right at the beginning was really quite intimidating but by lunchtime things had calmed down a little and it was easier and more enjoyable as you had more time to chat to visitors at that point.
 
I really wasn't feeling all that well so I did find the day really hard going, but it always lifts my spirits to get the chance to chat with other artists and with collectors and even feeling poorly I did have a good time. 


Wednesday, 22 February 2012

Bianca Travels to Australia

I love the fact that my dolls are travelling around the world to new homes,  today Bianca left for her journey half way around the world to Australia.

Bianca was created from a Bethan Rose Head and limbs from Secrist, so I guess she is effectively a mixed race baby,  there is something so engaging about her smiley face.  I am hoping that her adoptive mum is as taken with her as I was when I created her.

Bon Voyage Bianca!


Sunday, 25 December 2011

Neutralising Vinyl

I get asked often about neutralising vinyl colours to make them enough of a neutral colour to get a realistic final skin tone.  This step is one of the most important in the reborners art, understanding colour and how to cancel it out is an essential skill and takes patience, practice and a good understanding of the colour wheel, knowing what colour will cancel out another is really important. 

To start this series of articles on neutralising kits I will begin with a Secrist kit, Erin,  Secrist kits tend to be quite peachy coloured, you can just paint straight onto the kit un-neutralised but the finished result will still have that peach tone underneath your skin paints and doesn't really give the realistic skin tone that you want. 

It's no longer used technique to paint inside kits, its been shown that colour over time can leach through the vinyl so all paint work it done on the outside of the kit. 


To neutralise (cancel out) the peach tone of this kit and give a nice colour to work with the colour I use is a pale minty green.  This is applied all over the kit, although I do avoid using it on the lips and on the palms of the hands and soles of the feet of my kit.  You can do the entire surface of the kit but as I am going to paint those parts of my kit a pink anyway it seems a bit pointless to neutralise them first. 

To make this colour I use the lightest Flesh Colour  (Flesh 08)  and Phthalo Green 06


There is a colour very similar to this called Earth Mint produced by Bountiful Baby in a pre-mix but I do think that it is good practice for an artist to learn to mix their colours from scratch.  If you mix it, you understand it and if you understand how colour is created and works then you can use it better. 

Mix your colour as you would any other skin layer, its much easier to apply paint that to remove it, so thin layers are the key.  I find that 2 or 3 ultra thin layers works a treat. 

I apply this colour to my kit with a mop brush or similar brush, make sure you don't have your brush dripping with colour and use a cosmetic wedge to pounce the colour in once it is applied. 

Leave your kit pieces to one side, do not bake straight away, it's much easier to see gathered colour and streaks once the thinners have flashed off. and then use your sponge to blend any streaks or gathers you may have developed.  Once you've done that, bake. Allow to cool and then assess whether or not your kit needs another layer. 


You can see in the picture the difference in colour.   At this point you can now apply skin layers as you normally would.